
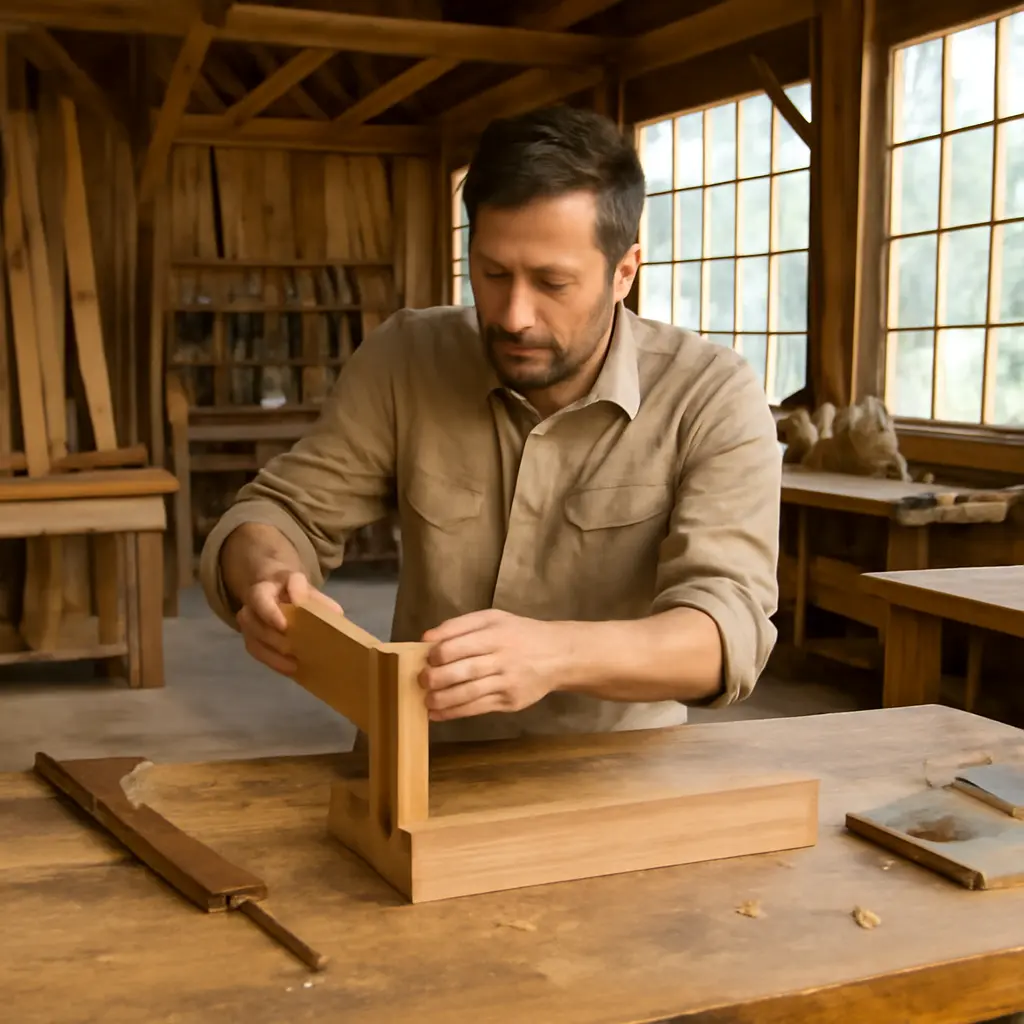
A mortise and tenon joint connects a projecting tenon on one piece of wood to a matching mortise, or cavity, in another. It is a traditional woodworking joint valued for strength, but poor layout, loose or tight fit, weak shoulders, and unsuitable glue can compromise it. Avoiding these mistakes starts with understanding how fit and grain affect the joint, then making accurate cuts, assembling carefully, and checking the finished connection. These details matter in furniture, doors, and frames, where a poorly made joint can loosen under repeated loads.
Joint strength depends on fit, material, and load
A mortise and tenon joint is a mechanical connection: the tenon’s cheeks bear against the mortise walls, while its shoulders help resist racking and keep the pieces aligned. Woodworking references such as the U.S. Forest Products Laboratory’s Wood Handbook explain that wood’s strength and dimensional behavior vary with grain direction, species, moisture, and loading. There is no single strength figure for every mortise and tenon; performance depends on the design, stock, workmanship, adhesive, and forces involved.
The joint may be through or blind, wedged or unwedged, and loose or drawbored. Each variation has different requirements, but the same basic errors recur: inaccurate proportions, poor grain orientation, imprecise cutting, and assembly that damages the parts or prevents a sound bond.
Choosing a joint that does not suit the load
A joint’s form should suit its job. A blind mortise conceals the tenon end, while a through mortise exposes it; a wedged through tenon can mechanically lock the assembly. A small, shallow tenon may be inadequate for a heavily loaded frame, while a tenon made excessively large can leave too little surrounding material in the mortised member.
Before cutting, identify whether the joint must resist tension, twisting, racking, or simple alignment. For example, a chair rail experiences repeated movement and leverage, so a weak, short tenon is more likely to loosen than a well-fitted joint designed for that service.
Layout mistakes reduce mortise and tenon accuracy
Accurate layout means transferring the same reference faces, centerlines, and dimensions to both mating parts. Woodworking instruction from organizations such as the Canadian Woodworking Federation emphasizes consistent reference surfaces and careful marking because small errors accumulate across a joint. A layout error can leave the tenon off-center, the shoulders uneven, or the mortise in the wrong position.
Measuring from inconsistent reference faces
A reference face is the chosen flat surface from which measurements are taken. If the mortise is marked from one face and the tenon from another, their positions may not align even when each measurement appears correct. Mark both parts from corresponding reference faces, and label those faces before cutting.
Ignoring stock thickness, grain, or defects
A tenon must leave adequate wood around the mortise, and its grain should run along its length rather than across a fragile short-grain section. Knots, checks, and grain runout near the joint can create weak spots. The Forest Products Laboratory notes that wood is anisotropic: its properties differ along and across the grain. Inspect the stock and orient the joint to avoid placing vulnerable grain where the connection will be stressed.
Cutting errors weaken mortise and tenon surfaces
Cutting creates the surfaces that transfer load and provide glue contact. A clean, square mortise and a straight-sided tenon make fitting and clamping more predictable. Rough or tapered surfaces, overshooting a layout line, and cutting shoulders out of square can reduce contact or prevent the parts from seating.
Making the mortise too wide, narrow, or deep
An oversized mortise leaves a gap around the tenon; an undersized one forces the tenon into the opening and can split the surrounding wood. A mortise that is too deep may leave an unnecessarily thin wall or allow the tenon to bottom out before its shoulders close. Cut close to the layout lines, then test and refine the fit gradually.
Leaving a tapered or rough mortise
A mortise that narrows unevenly can make the tenon bind at one end while leaving a gap elsewhere. Chisel walls should be kept square to the face, and debris should be cleared as work progresses. For a blind mortise, check its depth at several points so the tenon does not stop prematurely on chips or an uneven bottom.
Cutting shoulders that are not square
The shoulders are the ledges around the tenon that meet the face of the mortised piece. If they are not square or are cut to inconsistent depths, the joint can show gaps and sit out of alignment. A shoulder plane or chisel can correct minor high spots, but removing too much material can make the fit loose. Check the shoulders against a square and test the joint before applying glue.
Fitting and assembly mistakes cause gaps or splits
A sound fit should allow assembly without excessive force while keeping the mating surfaces in close contact. The correct feel varies with wood species, moisture, and joint design; a universal tolerance would be misleading. Dry-fitting before glue-up is a practical way to detect binding, gaps, and alignment problems while adjustments are still possible.
Forcing a tight tenon into the mortise
A tenon that needs heavy hammering may split the mortised member, crush fibers, or become difficult to remove for correction. Resistance can also trap glue or prevent the shoulders from closing. Pare the tenon cheeks incrementally and test often; do not rely on force to compensate for inaccurate sizing.
Accepting a loose tenon or visible shoulder gaps
A loose tenon has less reliable surface contact and can shift as the assembly is loaded. Gaps at the shoulders may indicate poor cutting, misalignment, or a tenon bottoming out too soon. Correct the cause rather than hiding the gap with excess adhesive or filler. If the joint is already too loose, a carefully fitted repair or a newly made part is generally more dependable than simply adding glue.
Using clamping pressure to pull misaligned parts together
Clamps should hold a correctly fitted joint closed, not force crooked parts into position. Excessive pressure can bow components, distort a frame, or squeeze out too much adhesive. Check diagonals and alignment during a dry assembly, then place clamps so pressure is even and the shoulders remain seated.
Glue and reinforcement mistakes undermine the connection
Adhesive helps bond the mating surfaces, while wedges, pegs, or drawboring can add mechanical resistance when appropriately designed. Neither adhesive nor reinforcement can reliably rescue a badly cut joint. Follow the adhesive manufacturer’s directions for surface preparation, open time, clamping, and cure; woodworking guidance from Titebond and other glue makers stresses that these conditions depend on the specific product.
Applying too much or too little adhesive
Too little glue can leave parts of the mating surfaces unbonded, while excessive glue can create a messy assembly and interfere with seating. Apply an even film to the surfaces specified by the adhesive instructions, and assemble within the stated working time. Clean squeeze-out using a method suitable for the finish and glue type.
Adding wedges or pegs without accounting for grain
Wedges spread the tenon and press it against the mortise walls, while drawbored pegs pull the joint together through offset holes. These techniques require deliberate design: an oversized wedge can split the mortised piece, and a poorly positioned peg can weaken the tenon or split short grain. Test the arrangement on scrap of similar material when the design is unfamiliar.
A practical inspection checklist prevents common failures
Before glue-up, inspect the joint systematically. A simple diagram could compare a correct fit with an oversized mortise, a tapered tenon, and shoulders that fail to close; the visual distinction is often easier to spot than a measurement alone.
- Confirm both parts were marked from matching reference faces.
- Check that the mortise walls and tenon cheeks are straight and square.
- Dry-fit the parts; verify that the shoulders close without force.
- Check alignment, frame squareness, and any required reinforcement.
- Use the adhesive according to its product instructions and clamp evenly.
For a real-world example, a wobbly chair rail may result from a short tenon, a loose mortise, or a shoulder that never seated fully. Each has a different remedy: redesigning or replacing an undersized tenon, correcting the fit, or trimming a high spot. Diagnosing the failure before repair avoids repeating the original mistake.
Conclusion: accurate work protects joint strength
Mortise and tenon joints are weakened most often by poor design choices, inconsistent layout, inaccurate cutting, unsuitable fit, and careless assembly. Matching the joint to its load, respecting grain direction, checking the dry fit, and following adhesive instructions all help prevent gaps, splits, and premature loosening. For further learning, consult a woodworking reference such as the U.S. Forest Products Laboratory’s Wood Handbook, review the instructions for the tools and adhesive you use, and practice on scrap before cutting valuable stock.
Sources: Forest Products Laboratory, Wood Handbook: Wood as an Engineering Material, https://www.fpl.fs.usda.gov/documnts/fplgtr/fpl_gtr282.pdf; Canadian Woodworking Federation, Woodworking Resources, https://www.cwf.ca/; Franklin International, Titebond Wood Glue Technical Information, https://www.titebond.com/resources/